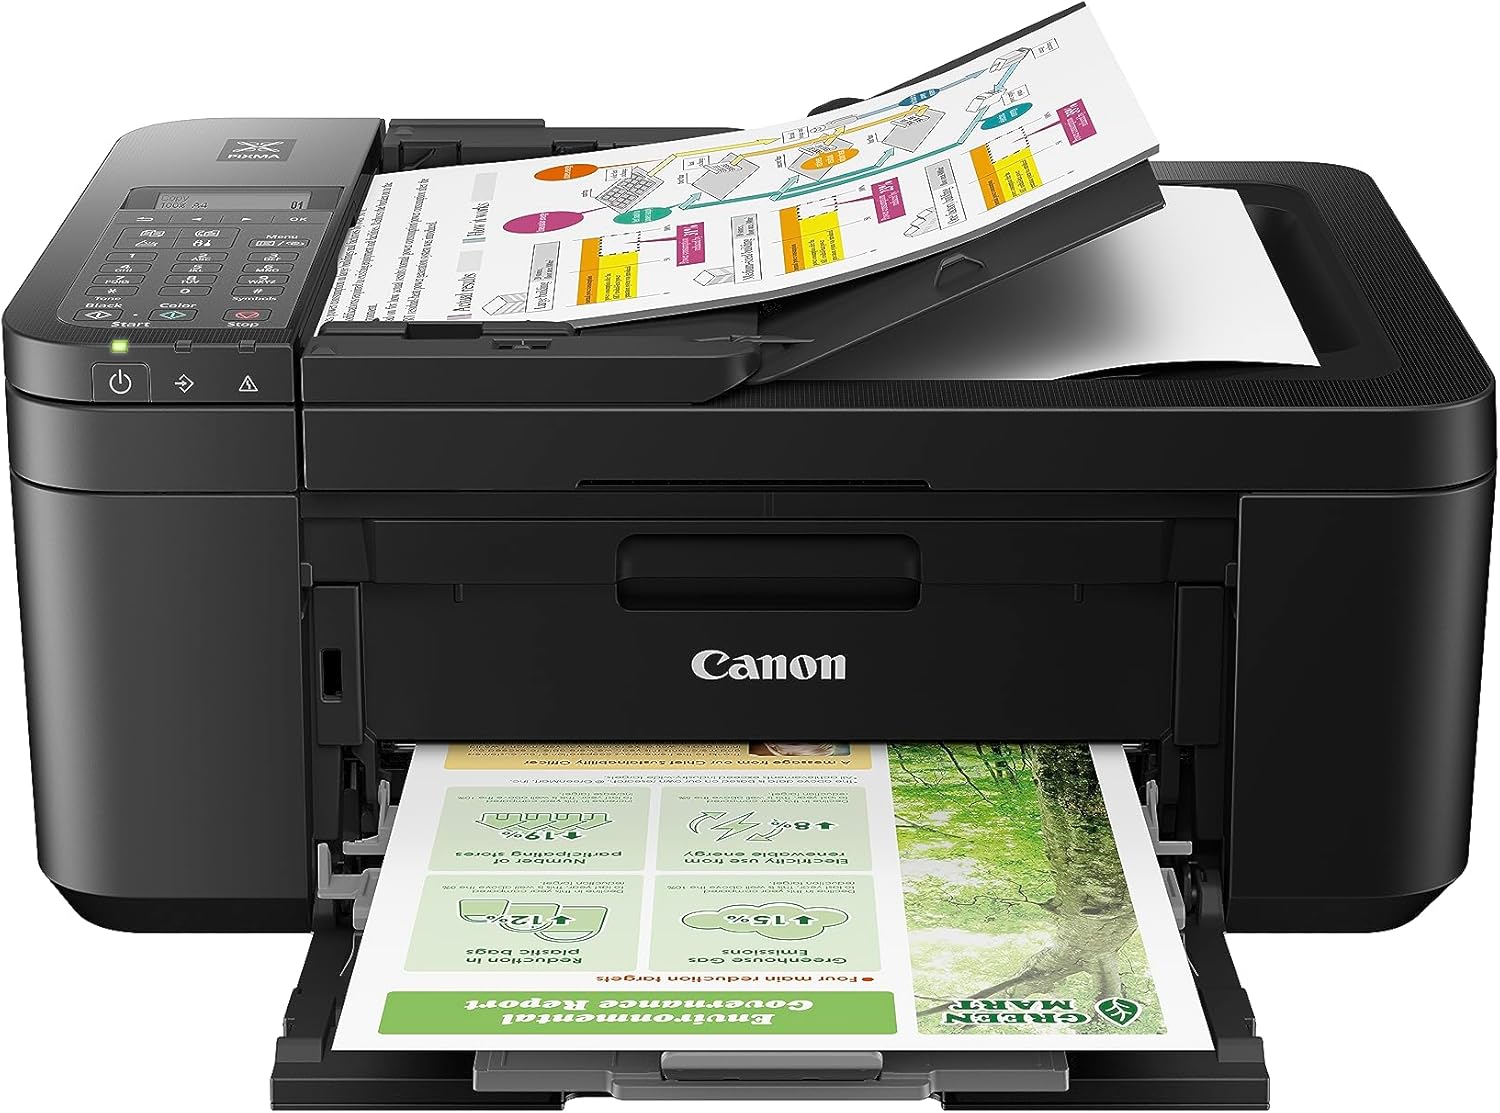
If you recently purchased a Flashlabel printer, you might be wondering how to connect Flashlabel printer to Mac quickly and easily. Flashlabel printers are well-known for their fast printing, compact design, and high-quality output perfect for shipping labels, barcode printing, or office use.
Connecting your Flashlabel printer to your Mac is a straightforward process, but many users face issues with drivers, compatibility, or wireless setup. This comprehensive guide will walk you through how to connect Flashlabel printer to Mac using both USB and Wi-Fi, install drivers, configure printer settings, and troubleshoot common problems.
Why Learn How to Connect Flashlabel Printer to Mac
Before we dive into the steps, let’s understand why learning how to connect Flashlabel printer to Mac properly is crucial:
- Smooth Printing Experience – Correct setup ensures your printer works flawlessly.
- Fewer Errors – No more blank pages, missing labels, or connectivity drops.
- Wireless Freedom – Print from anywhere in your home or office.
- MacOS Compatibility – Ensures your printer is recognized by macOS updates.
Read More: Nothing Ear Stick Earbuds Price and Review
Step-by-Step Guide: How to Connect Flashlabel Printer to Mac
Here’s a detailed process to set up your Flashlabel printer:
1. Unbox and Prepare Your Flashlabel Printer
Before you start how to connect Flashlabel printer to Mac, make sure you have:
- Flashlabel printer
- Power adapter and USB cable
- Compatible label rolls
- MacBook or iMac with macOS 10.14 or later
Steps:
- Remove all protective packaging from the printer.
- Insert the power cable and plug it into a wall outlet.
- Load the label roll into the printer following the user manual.
- Power on the printer.
2. Download and Install Flashlabel Driver for Mac
Your Mac needs the correct driver to communicate with your Flashlabel printer.
- Go to the official Flashlabel website.
- Navigate to Support → Downloads.
- Select Mac Driver for your model.
- Download and open the installer package (.dmg file).
- Follow on-screen instructions to install the driver.
This step is crucial for how to connect Flashlabel printer to Mac successfully, especially if you are using macOS Sonoma or Ventura, which require updated drivers.
3. Connect Flashlabel Printer via USB
If you prefer a wired connection, follow these steps:
- Use the included USB cable to connect your Flashlabel printer to your Mac.
- Open System Settings → Printers & Scanners.
- Click the + button to add a new printer.
- Select your Flashlabel printer from the list.
- Click Add to complete installation.
4. Connect Flashlabel Printer via Wi-Fi (Wireless Setup)
If you want a wireless setup, follow these steps:
- Turn on your Flashlabel printer.
- Put the printer into Wi-Fi setup mode (usually by pressing and holding the Wi-Fi button until the light flashes).
- On your Mac, go to Wi-Fi Settings and connect to the printer’s temporary network.
- Open Flashlabel Utility software and select your home Wi-Fi network.
- Enter your Wi-Fi password and save settings.
After reconnecting to your normal Wi-Fi network, the printer will appear automatically in System Settings → Printers & Scanners. This completes the wireless part of how to connect Flashlabel printer to Mac.
5. Configure Printing Preferences
Once you know how to connect Flashlabel printer to Mac, configure it for best performance:
- Set Default Printer: Go to Printers & Scanners → Right-click on Flashlabel printer → Set as Default.
- Adjust Paper Size: Choose the correct label size (e.g., 4×6 inches).
- Print Test Page: Ensure alignment and quality.
Read More: Starlink India Launch Update: What You Need to Know in 2025
Troubleshooting: Common Issues When Learning How to Connect Flashlabel Printer to Mac
Even after following the steps, you may face issues. Here’s how to fix them:
Problem 1: Flashlabel Printer Not Showing Up
- Make sure the printer is powered ON.
- Try a different USB port or cable.
- Reinstall drivers.
- Restart your Mac.
Problem 2: Wi-Fi Connection Failure
- Check if your Wi-Fi is 2.4 GHz (some printers don’t support 5 GHz).
- Reset Wi-Fi settings on the printer.
- Move the printer closer to the router.
Problem 3: Printer Prints Blank Labels
- Ensure correct label roll placement.
- Calibrate the printer through Flashlabel Utility.
- Clean the print head if needed.
These troubleshooting steps ensure your experience with how to connect Flashlabel printer to Mac remains smooth.
Tips for Optimizing Flashlabel Printer on Mac
After successfully completing how to connect Flashlabel printer to Mac, follow these optimization tips:
- Keep drivers updated from the official Flashlabel website.
- Use recommended label rolls to avoid jams.
- Enable AirPrint if supported for seamless wireless printing.
- Regularly clean the printer to maintain print quality.
Advantages of Connecting Flashlabel Printer to Mac
Understanding how to connect Flashlabel printer to Mac gives you:
- Faster Label Printing – Ideal for eCommerce businesses.
- Seamless Integration – Works with shipping software like ShipStation, Shopify, Etsy.
- Cross-Device Compatibility – Print from iPhone or iPad after setup.
- Cost-Effective – Thermal printing saves ink costs.
FAQs on How to Connect Flashlabel Printer to Mac
Q1: Do I need a driver to connect Flashlabel printer to Mac?
Yes, you must install the Mac driver from the official website.
Q2: Can I connect Flashlabel printer to Mac via Bluetooth?
Most Flashlabel printers support USB and Wi-Fi but not Bluetooth.
Q3: My Mac doesn’t detect the printer, what should I do?
Reinstall the driver, reset printer settings, and try a different cable.
Q4: Can I use Flashlabel printer with MacBook M1 or M2?
Yes, just download the latest driver compatible with Apple Silicon.
Now you can print shipping labels, barcodes, and receipts effortlessly. Mastering how to connect Flashlabel printer to Mac not only saves time but also improves productivity, especially for small businesses and eCommerce store owners.